Have you ever walked through a beautiful garden and wondered how the owner built that charming trellis, cozy pergola, or rustic raised bed all by themselves? 🤔 The truth is, you do not need to be a professional carpenter or spend a fortune to create stunning garden structures. With a little patience, the right tools, and this guide, you can transform your backyard into a personal paradise this weekend.
In this article, we are going to explore everything you need to know about DIY garden structures. From simple trellises to full blown pergolas, we will cover materials, tools, step by step ideas, and plenty of tips to help you avoid common mistakes. Grab a cup of coffee ☕ and let us dig in.
🌻 Why Build Your Own Garden Structures?
Before we jump into the how, let us talk about the why. Building your own garden structures is not just about saving money (although that is a huge bonus). It is about creating something with your own hands that reflects your personality and style.
Here are a few reasons homeowners love going the DIY route:
✅ Cost savings: Pre built garden structures can cost hundreds or even thousands of dollars. Building it yourself often cuts the price in half or more.
✅ Customization: You get to choose the exact size, shape, color, and material that fits your garden perfectly.
✅ Sense of accomplishment: There is nothing quite like sitting under a pergola you built with your own two hands.
✅ Increased property value: A well built garden structure can boost curb appeal and even increase your home’s resale value.
✅ Sustainability: You can choose eco friendly materials and repurpose old wood, giving new life to things that would otherwise end up in a landfill.
🧰 Tools and Materials You Will Need
Every good project starts with the right tools. Here is a handy table to help you gather everything before you start building.
| Tool or Material 🛠️ | Purpose | Estimated Cost |
|---|---|---|
| Circular saw | Cutting wood boards to size | $50 to $120 |
| Cordless drill | Drilling holes and driving screws | $40 to $100 |
| Measuring tape | Ensuring accurate dimensions | $8 to $15 |
| Level | Keeping structures straight and even | $10 to $25 |
| Wood screws and nails | Assembling frames | $10 to $30 |
| Wood stain or sealant | Protecting wood from weather | $15 to $40 |
| Pressure treated lumber | Main building material | Varies by project |
| Post hole digger | Digging holes for posts | $20 to $50 |
| Safety goggles and gloves | Personal protection | $10 to $20 |
Having these basics on hand will make almost any garden structure project much smoother. If you are new to DIY projects, do not worry. Most of these tools are beginner friendly and easy to find at your local hardware store.
🏡 Popular Types of DIY Garden Structures
There are so many garden structures you can build depending on your space, budget, and skill level. Let us break down some of the most popular options.
1. 🌸 Trellises
Trellises are one of the easiest structures to build and a fantastic starting project for beginners. They provide support for climbing plants like roses, clematis, and cucumbers while also adding vertical interest to your garden.
You can build a simple trellis using wooden slats arranged in a diamond or grid pattern, or get creative with reclaimed materials like old ladders, bicycle wheels, or metal piping.
Difficulty level: Beginner Time needed: 2 to 4 hours Cost: $20 to $60
2. 🌳 Pergolas
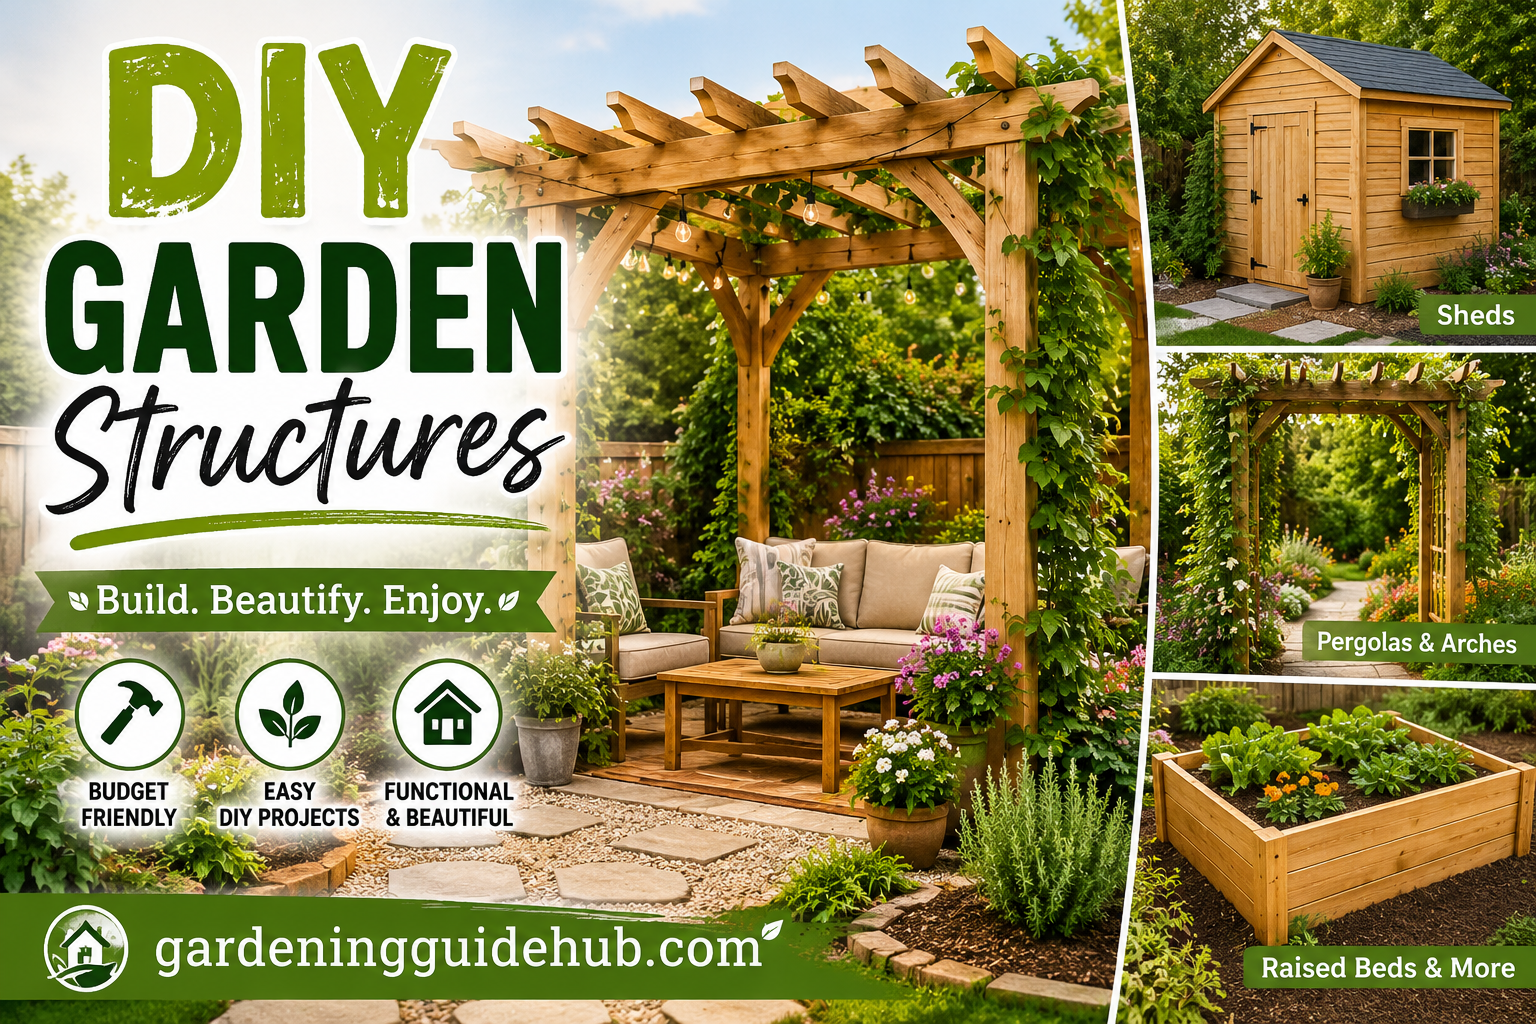
A pergola is a larger structure made of vertical posts supporting a roof of crossbeams. It creates a shaded seating area perfect for outdoor dining or relaxing with a book. While pergolas take more time and planning than trellises, they dramatically transform the look of a backyard.
Difficulty level: Intermediate to Advanced Time needed: 2 to 4 days Cost: $300 to $1500
3. 🌼 Raised Garden Beds
Raised beds are perfect for growing vegetables and flowers while keeping your garden organized and weed free. They also make gardening easier on your back since you do not have to bend down as far.
Difficulty level: Beginner Time needed: 1 day Cost: $50 to $200
4. 🐦 Garden Arbors
An arbor is like a smaller version of a pergola, often placed at an entryway or pathway. They are stunning when covered with climbing vines and flowers, creating a magical entrance to your garden.
Difficulty level: Intermediate Time needed: 1 to 2 days Cost: $100 to $400
5. 🪵 Garden Fences and Borders
A simple wooden fence or border can define your garden space, keep pets and critters out, and add a decorative touch. Picket fences, woven willow borders, and bamboo screens are all popular DIY choices.
Difficulty level: Beginner to Intermediate Time needed: 1 to 3 days Cost: $100 to $500
6. 🛖 Garden Sheds
If you need storage for tools and equipment, a small garden shed might be your next big project. While this is one of the more advanced builds, kits are available that simplify the process significantly.
Difficulty level: Advanced Time needed: 3 to 7 days Cost: $500 to $3000
📋 Quick Comparison Table
Here is a simple comparison to help you decide which structure fits your needs, time, and budget best.
| Structure 🌿 | Best For | Skill Level | Average Build Time |
|---|---|---|---|
| Trellis | Climbing plants | Beginner | Half a day |
| Raised Bed | Vegetables and herbs | Beginner | One day |
| Arbor | Entryways and pathways | Intermediate | One to two days |
| Pergola | Shaded seating areas | Intermediate/Advanced | Several days |
| Fence | Privacy and boundaries | Beginner/Intermediate | One to three days |
| Shed | Storage | Advanced | One week |
🪴 Step by Step: Building a Simple Raised Garden Bed
Since raised beds are one of the most popular and beginner friendly projects, let us walk through the basic steps together.
Step 1: Choose Your Location 📍 Pick a spot in your yard that gets at least six hours of sunlight a day. Make sure the ground is relatively level.
Step 2: Gather Your Materials 🪵 You will need untreated cedar or pine boards (cedar naturally resists rot), screws, and a drill.
Step 3: Cut Your Boards ✂️ A standard raised bed is about four feet wide by eight feet long and twelve inches tall. Cut your boards to these measurements or adjust based on your space.
Step 4: Assemble the Frame 🔨 Screw the boards together at the corners to form a rectangle. Add corner braces for extra stability if needed.
Step 5: Place and Level the Bed ⚖️ Set your frame in place and use a level to make sure it sits evenly on the ground.
Step 6: Fill With Soil 🌱 Fill your raised bed with a mix of quality topsoil, compost, and organic matter. This creates the perfect environment for healthy plant growth.
Step 7: Start Planting 🌷 Now comes the fun part. Add your favorite vegetables, herbs, or flowers and watch your garden come to life.
🌦️ Choosing the Right Materials for Your Climate
One thing many beginners overlook is how climate affects material choice. Wood that works beautifully in a dry climate may warp or rot quickly in a humid one. Here is a quick reference guide.
| Climate Type 🌍 | Recommended Material | Notes |
|---|---|---|
| Humid or rainy regions | Cedar, redwood, or composite wood | Naturally resistant to rot and moisture |
| Dry or desert climates | Pine, metal, or bamboo | Lightweight and heat resistant |
| Coastal areas | Treated wood, powder coated metal | Resistant to salt air corrosion |
| Cold or snowy climates | Pressure treated lumber | Withstands freeze and thaw cycles |
Choosing the right material upfront will save you time, money, and frustration down the road.
🎨 Design Tips to Make Your Structures Stand Out
Building a functional structure is great, but adding a little creativity takes your garden to the next level. Here are some ideas to consider.
🌟 Paint or stain your structure in a color that complements your home’s exterior.
🌟 Add string lights or lanterns to your pergola or arbor for evening ambiance.
🌟 Incorporate climbing plants like jasmine, wisteria, or morning glory for natural beauty.
🌟 Mix materials such as wood and metal for a modern industrial look.
🌟 Add decorative trim or lattice panels for extra charm.
🌟 Use reclaimed or repurposed materials for a rustic, eco friendly vibe.
⚠️ Common Mistakes to Avoid
Even the most enthusiastic DIYers can run into trouble. Here are some pitfalls to watch out for.
❌ Skipping the planning stage: Always sketch your design and measurements before cutting any wood.
❌ Ignoring local building codes: Some structures, especially larger ones like sheds or pergolas, may require permits depending on your area.
❌ Using the wrong screws or fasteners: Regular screws can rust quickly outdoors. Always use galvanized or stainless steel hardware.
❌ Forgetting to seal or treat wood: Untreated wood left exposed to the elements will deteriorate much faster.
❌ Not accounting for drainage: Especially important for raised beds and structures with footings, poor drainage can lead to rot or instability.
❌ Overcomplicating your first project: Start simple. A trellis or small raised bed is a great confidence builder before tackling a pergola.
💰 Budgeting for Your DIY Garden Project
One of the biggest advantages of DIY garden structures is the flexibility in budget. Here is a rough breakdown of what you might expect to spend based on project size.
| Budget Range 💵 | What You Can Build |
|---|---|
| Under $50 | Small trellis, plant supports, simple borders |
| $50 to $200 | Raised beds, small arbors, decorative fencing |
| $200 to $500 | Medium pergola kits, larger fencing projects |
| $500 to $1500 | Custom built pergolas, garden gazebos |
| $1500 and up | Garden sheds, large multi structure garden makeovers |
Remember, prices vary based on your location, material choices, and whether you buy new or repurpose existing materials.
🌼 Maintaining Your Garden Structures
Building your structure is only half the journey. Proper maintenance ensures your hard work lasts for years to come.
🔧 Inspect wood structures annually for signs of rot, warping, or loose fasteners.
🔧 Reapply sealant or stain every one to two years depending on your climate.
🔧 Trim back climbing plants regularly so they do not put too much weight on the structure.
🔧 Clean metal components to prevent rust buildup.
🔧 Tighten any loose screws or bolts as needed.
🌟 Final Thoughts
Building your own garden structures is one of the most rewarding projects you can take on as a homeowner or gardening enthusiast. Not only do you save money, but you also create something truly unique that fits your personal style and outdoor space perfectly. 🌷
Whether you start small with a simple trellis or work your way up to a beautiful pergola, every project teaches new skills and builds confidence for the next one. So grab your tools, put on some music 🎶, and get ready to transform your backyard into the garden of your dreams.
Happy building! 🌻🔨🌿
❓ Frequently Asked Questions
Q: Do I need a permit to build a garden structure? A: It depends on your local regulations and the size of the structure. Small trellises and raised beds usually do not require permits, but larger structures like sheds or pergolas might. Always check with your local building department first.
Q: What is the easiest garden structure for a complete beginner? A: A simple trellis or raised garden bed is the perfect starting point. Both require minimal tools and can be completed in a single afternoon.
Q: How long do DIY garden structures typically last? A: With proper maintenance and quality materials, most wooden garden structures last anywhere from ten to twenty years.
Q: Can I build garden structures without power tools? A: Yes, though it will take longer. Hand saws, manual drills, and basic hand tools can accomplish most small projects, just with a bit more effort.