
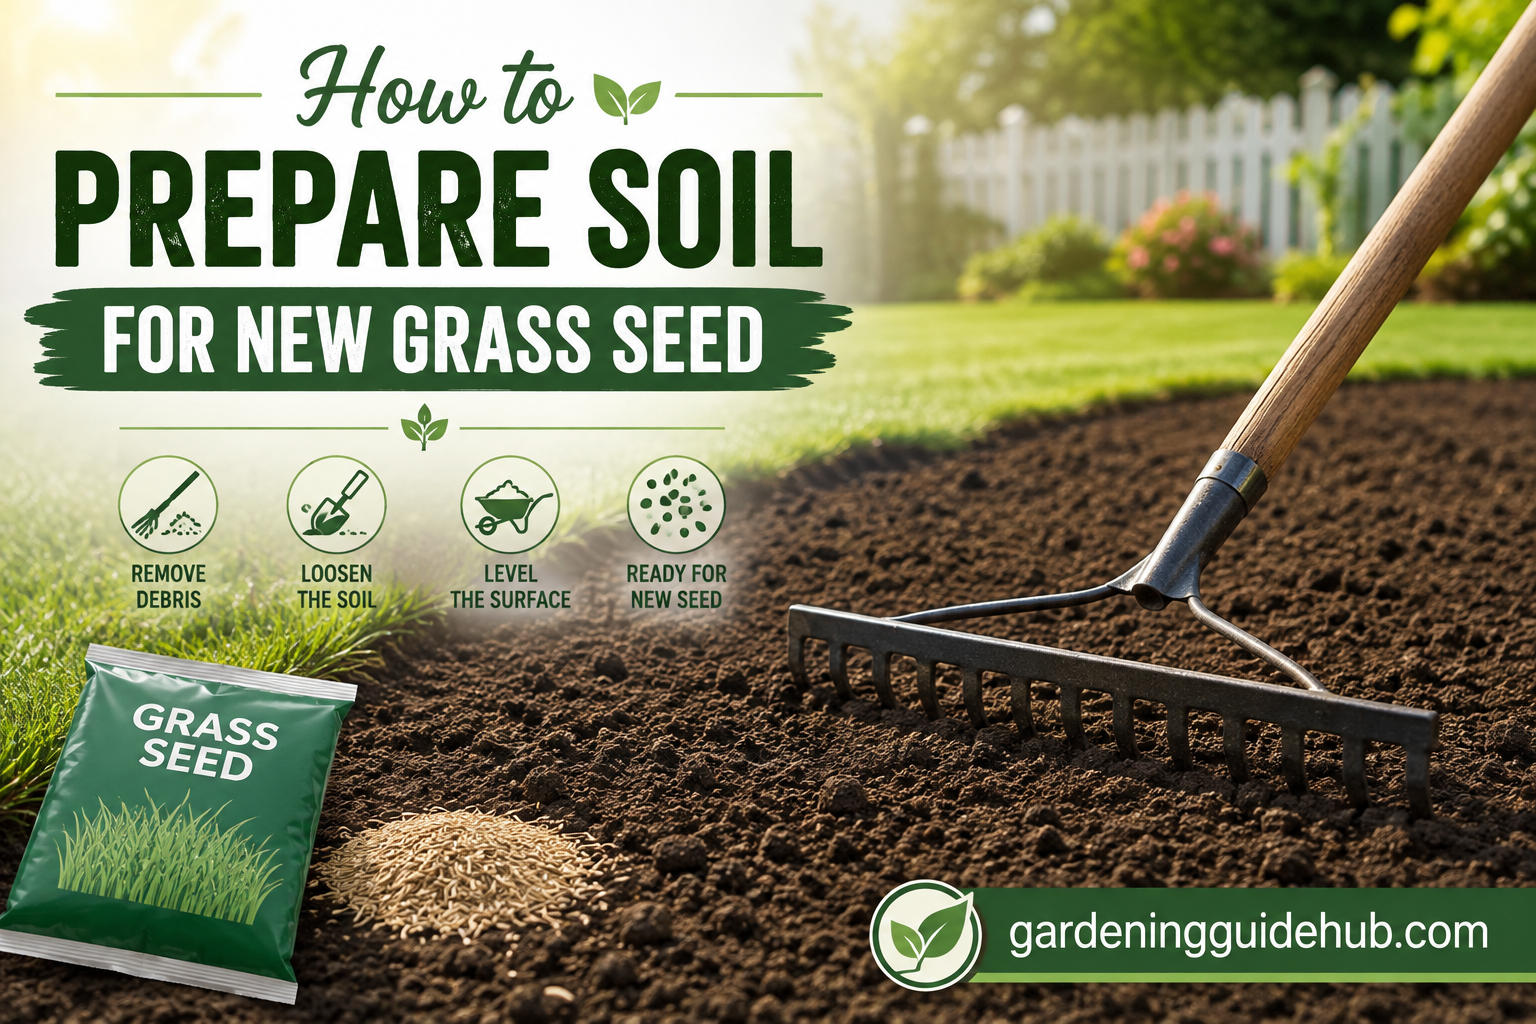
If you have ever tossed grass seed onto bare dirt and watched almost nothing grow, you already know the truth. The seed is rarely the problem. The soil underneath it is usually the real reason a lawn fails to take hold. Good soil preparation is the single biggest factor that separates a thick, green, healthy lawn from a patchy, weed filled mess.
The good news is that preparing soil for grass seed is not complicated. It just takes a bit of patience, the right tools, and a step by step approach. In this guide, we will walk through everything you need to know, from testing your soil to the final watering schedule after planting. By the end, you will understand exactly what your lawn needs before a single seed touches the ground.
Why Soil Preparation Matters So Much 🧑🌾
Grass seed needs three basic things to germinate and thrive: good contact with soil, access to nutrients, and consistent moisture. If your soil is compacted, full of debris, or lacking nutrients, the seed will struggle no matter how expensive or high quality it is.
Think of soil preparation like preparing a canvas before painting. You would not paint a masterpiece on a dirty, uneven surface, and you should not expect a beautiful lawn to grow on soil that has not been properly prepped. Skipping this step often leads to wasted money, wasted time, and a lawn full of bare patches and weeds instead of grass.
Step 1: Test Your Soil Before Doing Anything Else 🔬
Before you touch a rake or spreader, it helps enormously to know what you are working with. A simple soil test tells you the pH level and nutrient content of your yard, and this single step can save you from months of frustration.
Most garden centers sell inexpensive soil test kits, or you can send a sample to your local agricultural extension office for a more detailed report. Grass generally grows best in soil with a pH between 6.0 and 7.0. If your soil is too acidic or too alkaline, grass roots will struggle to absorb nutrients even if the ground looks perfectly fine on the surface.
| Soil pH Range | What It Means | Recommended Fix |
|---|---|---|
| Below 6.0 (acidic) | Nutrients become harder to absorb | Add garden lime |
| 6.0 to 7.0 (ideal) | Perfect for most grass types | No adjustment needed |
| Above 7.0 (alkaline) | Can cause yellowing and poor growth | Add elemental sulfur |
Knowing this number before you start gives your entire project direction, so do not skip it.
Step 2: Clear the Area Completely 🧹
Once you know your soil condition, the next step is removing everything that does not belong. This includes old grass, weeds, rocks, sticks, and any construction debris left behind from previous landscaping work.
If you are dealing with an existing lawn that is mostly dead or overrun with weeds, you have a few options:
- Manually dig out the old grass and weeds with a shovel or sod cutter
- Use a rented sod cutter for larger areas to save time and effort
- Solarize the area by covering it with clear plastic for several weeks during hot weather to kill existing vegetation naturally
Whichever method you choose, the goal is the same: a clean slate with no competition for your new grass seed. Weeds and old grass roots left in the soil will simply grow back and choke out your new seedlings before they have a chance to establish.
Step 3: Test and Improve Soil Drainage 💧
Grass seed hates sitting in soggy soil just as much as it hates bone dry dirt. Poor drainage leads to seed rot, fungal disease, and shallow root systems that make your lawn vulnerable to drought later on.
To test drainage, dig a hole about a foot deep and fill it with water. If the water drains within a few hours, you are in good shape. If it takes all day or longer, you likely have a compaction or clay problem that needs addressing before planting.
Common fixes for poor drainage include:
- Aerating the soil to break up compacted layers
- Mixing in compost or organic matter to improve soil structure
- Grading the yard slightly so water flows away from low spots
- Installing a French drain in severe cases where water pools consistently
Step 4: Loosen and Till the Soil 🚜
Compacted soil is one of the biggest enemies of a healthy lawn. When soil is packed too tightly, grass roots cannot penetrate deep enough to access water and nutrients, which leaves your lawn weak and shallow rooted.
For small areas, a garden fork or hand tiller works fine. For larger yards, renting a gas powered tiller will save your back and your weekend. Till the soil to a depth of about six to eight inches, breaking up large clumps as you go.
This is also the perfect time to remove any remaining rocks or roots that surface during tilling. A smooth, loose bed of soil gives new grass roots the easiest possible path to grow strong and deep.
Step 5: Add Organic Matter and Amendments 🍂
Now that your soil is loose and clear, it is time to boost its quality. Most yards benefit from a generous layer of compost, aged manure, or topsoil mixed into the existing ground. This adds nutrients, improves texture, and helps the soil retain moisture without becoming waterlogged.
Spread about two to three inches of compost across the area and work it into the top four to six inches of soil using a rake or tiller. If your soil test revealed a pH imbalance, this is also the time to add lime or sulfur according to the package instructions.
| Amendment | Purpose | When to Use |
|---|---|---|
| Compost | Improves texture and adds nutrients | Almost always beneficial |
| Garden lime | Raises pH in acidic soil | When pH is below 6.0 |
| Elemental sulfur | Lowers pH in alkaline soil | When pH is above 7.0 |
| Starter fertilizer | Provides phosphorus for root growth | Right before or during seeding |
Step 6: Level and Grade the Surface 📏
An uneven lawn is not just an eyesore, it also creates drainage problems and awkward mowing later on. After tilling and amending, use a rake or a landscape leveling tool to smooth out bumps, fill in low spots, and create a gently sloped surface that directs water away from your home’s foundation.
Take your time on this step. Walk across the area and look for high and low spots. A landscaping rake with a wide, flat head works great for this, and for larger areas, dragging a section of chain link fence or a homemade drag mat behind a mower can help smooth things out quickly.
Step 7: Do a Final Rake and Firm the Soil 🪶
Before spreading seed, give the entire area one more light raking to create a smooth, fine textured surface. Grass seed needs good contact with soil to germinate, and large clumps or loose, fluffy soil can prevent that contact from happening.
After raking, lightly firm the soil using a lawn roller filled about a quarter of the way with water. This is not about compacting the soil hard again, it is simply about creating a stable surface that helps seeds settle in rather than wash away with the first rain or watering session.
Step 8: Choose the Right Grass Seed for Your Region 🌾
Not all grass seed is created equal, and choosing the wrong variety for your climate is one of the most common mistakes homeowners make. Cool season grasses like Kentucky bluegrass, fescue, and ryegrass thrive in northern climates, while warm season grasses like Bermuda, zoysia, and St. Augustine perform better in southern regions.
Consider these factors when selecting seed:
- Climate and average temperatures in your area
- Amount of sunlight your yard receives daily
- Foot traffic the lawn will need to withstand
- Whether you want a low maintenance or a showpiece lawn
Buying a high quality seed blend suited to your specific region will make every previous step in this process pay off.
Step 9: Spread the Seed Evenly 🌿
Using a broadcast spreader or hand spreader, apply the seed according to the rate recommended on the product label. Spreading too thick wastes seed and creates overcrowding, while spreading too thin leaves bare patches.
A helpful trick is to divide your total seed amount in half and walk the yard twice, once in a north to south pattern and once in an east to west pattern. This crisscross method ensures much more even coverage than a single pass.
After spreading, lightly rake the seed into the top quarter inch of soil, or use a starter fertilizer spreader pass to help push seeds into contact with the earth without burying them too deep.
Step 10: Mulch and Water Consistently ☀️💦
A thin layer of straw mulch helps retain moisture, protect seeds from birds, and prevent erosion from heavy rain. Spread it lightly enough that you can still see about half of the soil underneath.
Watering is where many people go wrong. New grass seed needs consistent moisture, not occasional heavy soaking. Water lightly once or twice a day, just enough to keep the top inch of soil moist, until germination occurs. This typically takes anywhere from five to thirty days depending on the grass type and weather conditions.
| Grass Type | Typical Germination Time |
|---|---|
| Ryegrass | 5 to 10 days |
| Fescue | 7 to 14 days |
| Kentucky bluegrass | 14 to 30 days |
| Bermuda grass | 10 to 30 days |
Once the grass reaches about two inches tall, you can gradually reduce watering frequency while increasing the amount per session to encourage deeper root growth.
Common Mistakes to Avoid ⚠️
Even with the best intentions, a few mistakes tend to trip up beginners:
- Skipping the soil test and guessing at pH levels
- Seeding directly on top of compacted or untilled soil
- Using old, expired grass seed with low germination rates
- Overwatering, which causes seeds to rot or wash away
- Mowing too early before the roots have properly established
Avoiding these pitfalls will save you time, money, and a lot of unnecessary frustration.
Final Thoughts 🌻
Preparing soil properly before planting grass seed is not the most exciting part of lawn care, but it is by far the most important. Every step, from testing pH to grading the surface to choosing the right seed for your climate, builds the foundation for a lush, healthy lawn that will thrive for years to come.
Take your time with each stage, resist the urge to rush straight to seeding, and your patience will show up in the form of a thick, green lawn that your neighbors will envy. A little effort now truly does pay off for seasons to come.