
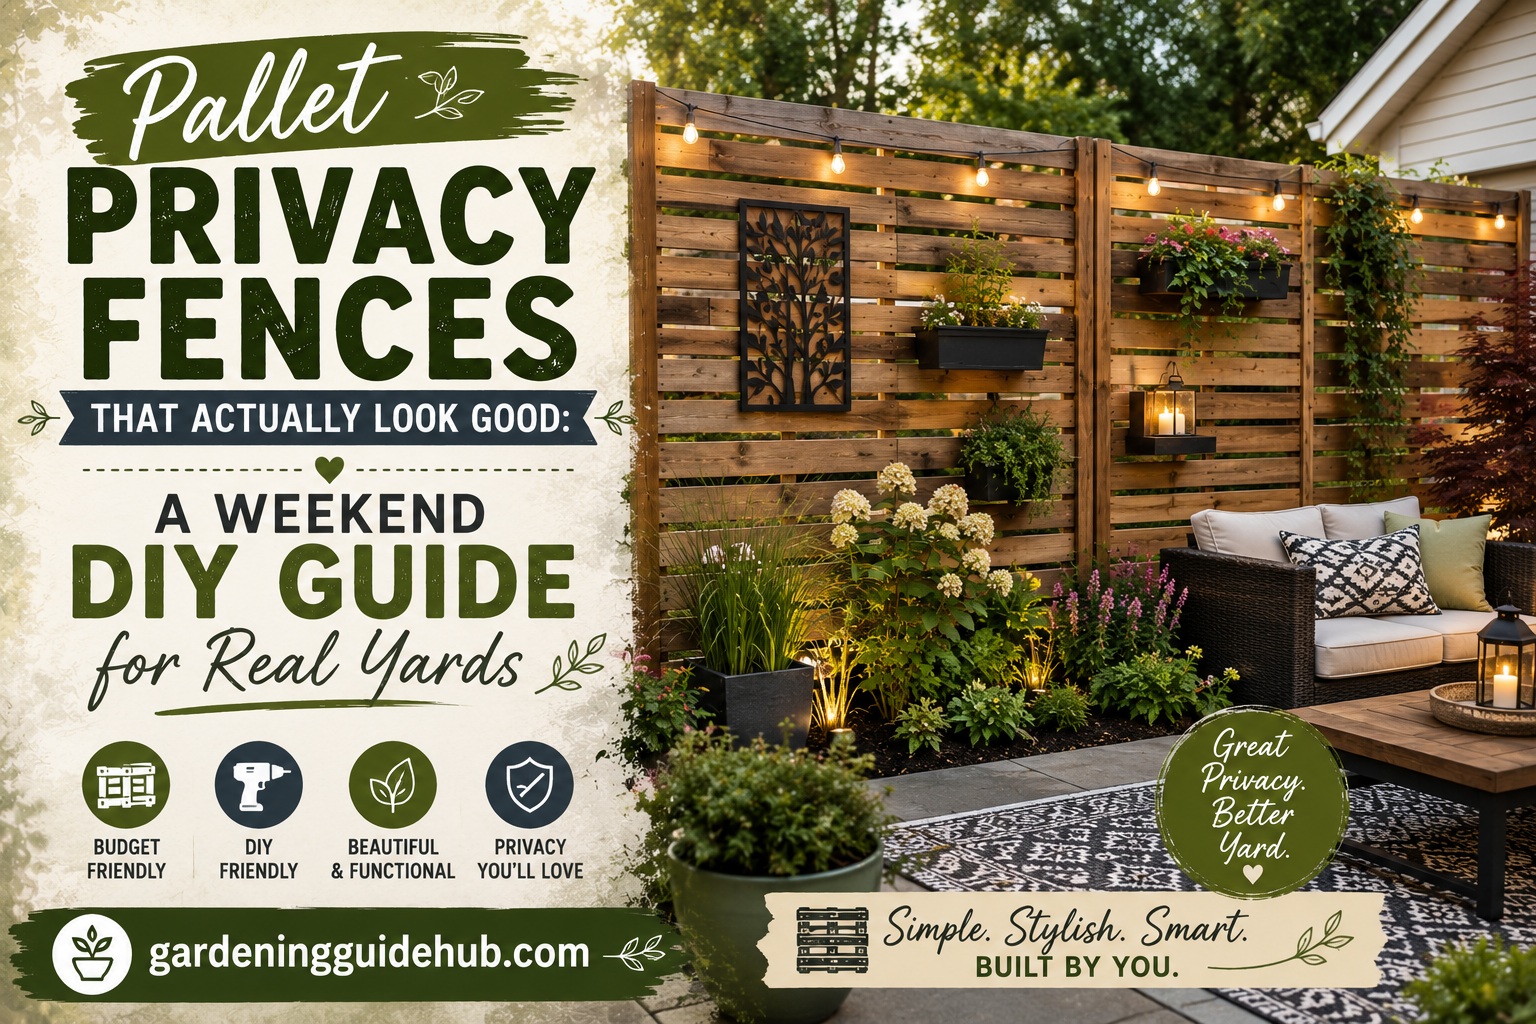
Let us be honest. When most people hear “pallet fence,” they picture something a little rough around the edges. Splintery wood, mismatched boards, and a look that screams “I ran out of budget” rather than “I planned this on purpose.” But here is the truth: pallet privacy fences can look genuinely beautiful, stylish, and completely intentional, if you know a few tricks.
This is not a fantasy Pinterest project that only works in someone’s perfectly styled backyard with professional tools and a design degree. This is a real guide for real yards, built for a normal weekend, using pallets you can often get for free or very cheap. By the end of this article, you will know exactly how to plan, build, and finish a pallet fence that neighbors will actually compliment instead of politely ignore.
Let us get into it. 🔨
Why Choose a Pallet Fence in the First Place? 🤔
Before grabbing your tools, it helps to understand why this project has become such a favorite among budget conscious homeowners and DIY lovers alike.
Pallet fences offer:
- A dramatically lower cost compared to buying new fencing lumber
- An eco friendly way to reuse and repurpose wood that might otherwise be discarded
- A customizable look, since you control the spacing, paint, and finish
- A manageable weekend project size for most standard yards
- Surprising durability when built and sealed correctly
The key phrase there is “built and sealed correctly.” A sloppy pallet fence looks like trash. A well planned one looks like a designer choice. The difference comes down to preparation and a few smart techniques, which is exactly what we are covering below.
Quick Overview: What You Will Need 📋
Here is a simple table summarizing the core supplies for a standard pallet privacy fence project, based on roughly a twenty foot run.
| Item | Purpose | Estimated Cost |
|---|---|---|
| Wooden pallets (8 to 12) 🪵 | Main fence material | Free to $10 each |
| Fence posts (4×4 pressure treated) 📏 | Structural support | $10 to $20 each |
| Concrete mix 🧱 | Securing posts in the ground | $6 to $10 per bag |
| Exterior wood screws 🔩 | Attaching pallets to posts | $10 to $15 per box |
| Sander or sanding blocks 🧽 | Smoothing rough surfaces | $15 to $40 |
| Exterior paint or stain 🎨 | Finishing and weatherproofing | $30 to $70 |
| Wood sealant 🛡️ | Protecting against moisture | $20 to $35 |
| Level and measuring tape 📐 | Ensuring straight, even lines | Often already owned |
Total cost for a modest run typically lands somewhere between one hundred fifty and four hundred dollars, which is a fraction of what a comparable new wood privacy fence would cost.
Step One: Choosing the Right Pallets 🔍
Not all pallets are created equal, and this step alone can make or break your final result.
What to look for:
- Pallets marked “HT” (heat treated) rather than “MB” (methyl bromide), since heat treated pallets are safer to use around your home
- Boards that are tightly spaced with minimal gaps for better privacy
- Wood that is not warped, cracked, or rotting
- Pallets of a similar size and style for a more cohesive final look
Local businesses like garden centers, hardware stores, or beverage distributors often give away pallets for free if you simply ask. Always check the stamped markings on the block before bringing one home.
Step Two: Planning Your Layout 📐
A little planning goes a long way here. Before you start digging post holes, map out exactly where your fence will go and how tall you want it.
Things to consider:
- Check local codes for maximum fence height in your area, often between six and eight feet for privacy fences
- Call your local utility line service before digging, since this step is often required by law
- Decide whether you want a solid privacy look or a slightly spaced design that still lets in some breeze and light
- Measure your total run length and divide by the average pallet width to estimate how many you will need
Sketching your layout on paper, even a rough one, helps you visualize gate placement, corner posts, and any curves or angles your yard might require.
Step Three: Setting Sturdy Posts 🧱
This step is the foundation of your entire fence, quite literally. Skimping here is the number one reason DIY fences lean, wobble, or fail early.
How to set posts properly:
- Dig holes about one third of the total post height deep, so a six foot fence needs roughly a two foot deep hole
- Add a few inches of gravel at the bottom for drainage
- Place the post in the hole and check it is perfectly level on all sides
- Pour concrete mix around the post, following the product’s water ratio instructions
- Brace the post with scrap wood while the concrete cures, usually twenty four to forty eight hours
- Space posts no more than eight feet apart to keep pallets well supported
Rushing this step is tempting, especially on a tight weekend schedule, but sturdy posts are what separate a fence that lasts for years from one that needs repair within months.
Step Four: Prepping the Pallets 🧽
This is where a rough looking pallet fence transforms into something that actually looks intentional and polished.
Prep checklist:
- Remove any loose nails, staples, or damaged boards
- Sand down rough edges and splintery surfaces, focusing on areas people or pets might touch
- Power wash pallets if they are visibly dirty or dusty, then let them dry fully
- Consider removing every other board for a slatted look, or keep boards tight for full privacy
- Trim pallets to a uniform height using a circular saw for a clean, matching top line
This step takes patience, but it is genuinely the difference between a fence that looks thrown together and one that looks custom built.
Step Five: Attaching Pallets to the Frame 🔩
Once your posts are set and your pallets are prepped, it is time for assembly.
Attachment tips:
- Use exterior grade wood screws rather than nails for a stronger, longer lasting hold
- Attach pallets directly to posts, checking level frequently as you go
- Stagger pallet seams slightly for a more custom, less repetitive look
- Add horizontal support beams along the back if extra stability is needed
- Leave a small gap at the bottom, about two inches, to prevent the wood from sitting directly in soil moisture
Working with a second person for this stage makes a big difference, since holding pallets level while screwing them in solo can be tricky.
Step Six: Finishing Touches That Make It Look Designer 🎨
This is the step that most rushed pallet fence projects skip, and it is exactly why so many pallet fences end up looking cheap instead of charming. A little finishing effort transforms the entire structure.
Ideas to elevate the look:
| Technique | Effect | Difficulty |
|---|---|---|
| Solid color paint 🎨 | Bold, modern look | Easy |
| Whitewash stain ⚪ | Soft, coastal farmhouse feel | Easy |
| Dark walnut stain 🟤 | Rich, upscale appearance | Easy |
| Two tone paint (posts vs boards) 🖌️ | Custom, designer contrast | Moderate |
| Trim strips along edges 📏 | Polished, finished border | Moderate |
| String lights along the top 💡 | Cozy evening ambiance | Easy |
Choosing a cohesive color palette that matches your home’s exterior or existing garden features instantly makes the fence feel like part of an intentional design rather than a leftover project.
Adding Greenery to Soften the Look 🌱
A pallet fence looks even more polished once plants start climbing or growing alongside it. Greenery softens the wood’s texture and blends the fence into the rest of your landscaping.
Plant ideas to pair with your fence:
- Climbing roses or clematis for color and fragrance
- Ornamental grasses planted along the base for texture
- Hanging planters attached directly to sturdier pallet sections
- Espaliered fruit trees trained flat against a sunny fence section
- Ivy or climbing hydrangea for a lush, established look over time
Within a season or two, many pallet fences practically disappear under greenery, leaving behind a soft, natural privacy screen instead of a plain wood wall.
Maintenance: Keeping Your Fence Looking Good Long Term 🛠️
A pallet fence is not entirely maintenance free, but the upkeep is manageable if you stay ahead of it.
| Task | How Often |
|---|---|
| Inspect for loose boards or screws 🔍 | Every 3 to 6 months |
| Reapply sealant or stain 🛡️ | Every 1 to 2 years |
| Check post stability 🧱 | Once a year |
| Trim nearby plants away from wood 🌿 | Seasonally |
| Power wash surface dirt 💦 | Once a year |
Staying on top of small repairs prevents bigger, more expensive problems down the line, and keeps your fence looking sharp for years rather than months.
Common Mistakes to Avoid ⚠️
Even a well planned project can go sideways if a few key details get overlooked.
- Skipping proper post depth, leading to leaning or shifting over time
- Using pallets marked “MB” instead of “HT,” which is not ideal for residential use
- Forgetting to check local fence height regulations before building
- Leaving wood unsealed, which speeds up rot and weather damage
- Attaching pallets directly to the ground instead of leaving a gap for airflow
Avoiding these pitfalls upfront saves you from a redo project a year down the road.
A Sample Weekend Build Plan 🗓️
If you want a clear plan to follow, here is how a typical build might break down across two days.
Saturday morning: Source and inspect pallets, gather all supplies, mark post locations.
Saturday afternoon: Dig holes, set posts in concrete, and let them begin curing.
Sunday morning: Sand and prep pallets while posts finish curing.
Sunday afternoon: Attach pallets to posts, then apply paint or stain as a finishing step.
Note that concrete often needs a full twenty four to forty eight hours to cure properly, so some builders prefer setting posts on a Friday evening or splitting this project across two weekends for the strongest final result.
Final Thoughts 🌼
A pallet privacy fence proves that budget friendly does not have to mean unattractive. With a little planning, some sanding, sturdy posts, and a thoughtful finish, reclaimed pallets can become a fence that genuinely enhances your yard instead of just filling space. It is sustainable, affordable, and deeply satisfying to build with your own two hands.
So this weekend, skip the expensive lumber yard trip and start hunting for pallets instead. With the steps in this guide, you will end up with a privacy fence that looks like it belongs in a design magazine, built for a fraction of the price and twice the pride.
Happy building! 🔨🌿