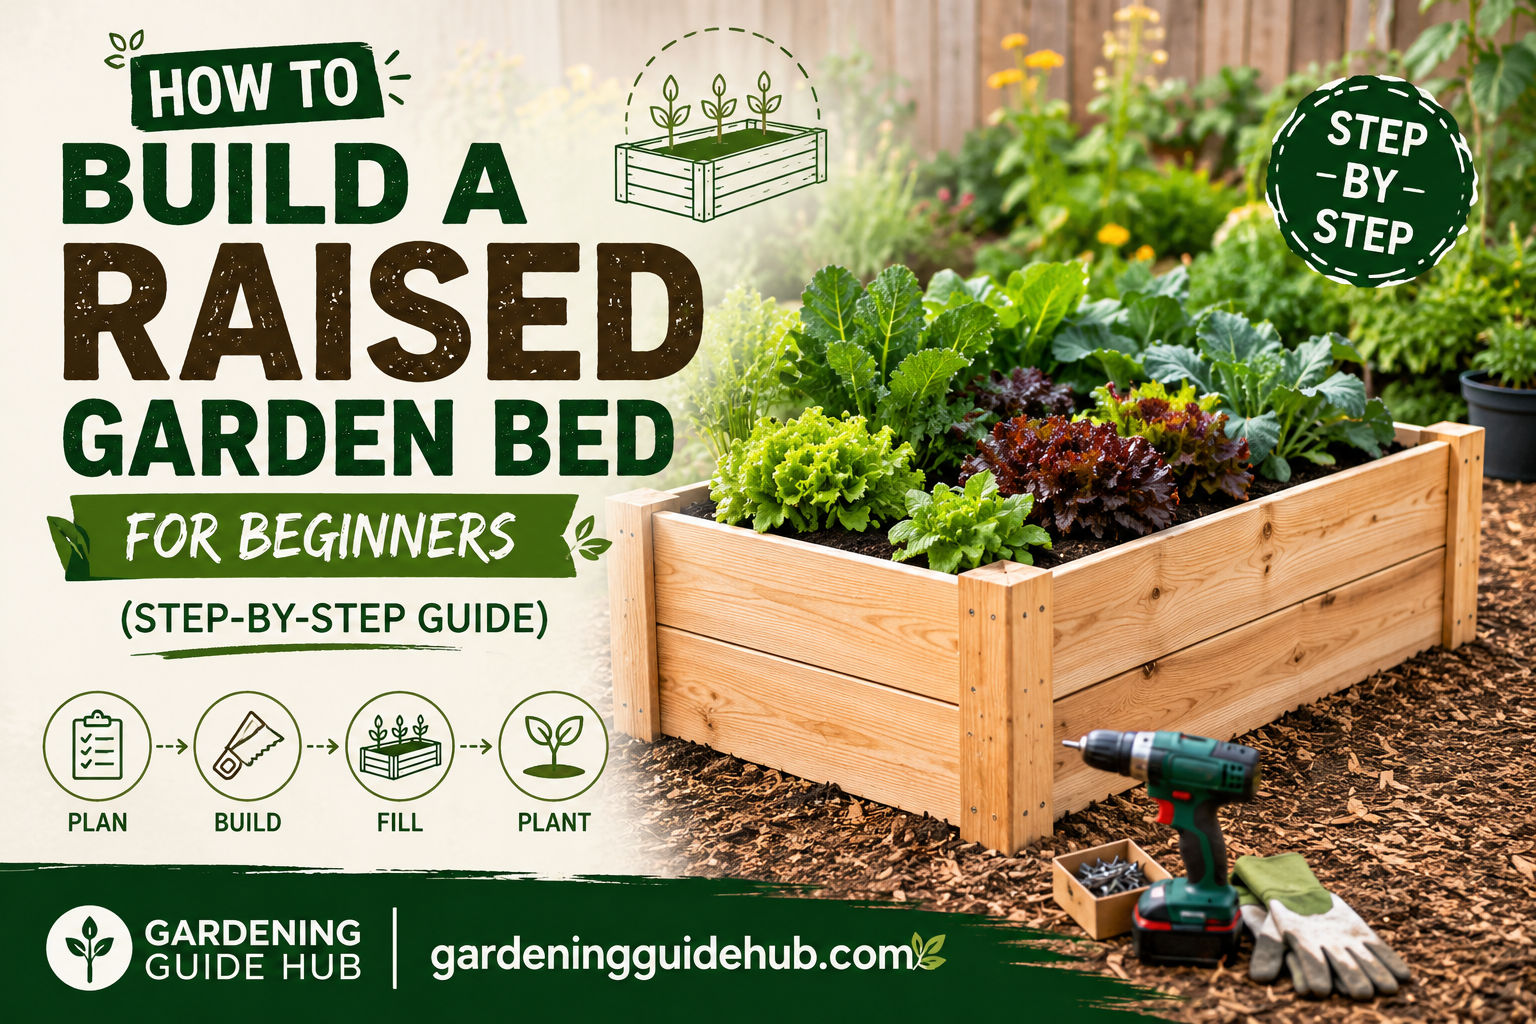
If you have ever looked at your backyard and dreamed of growing your own tomatoes, herbs, or flowers but felt overwhelmed by the idea of “real gardening,” you are not alone. Thousands of beginner gardeners start their journey with one simple project: a raised garden bed.
A raised garden bed is basically a bottomless box filled with soil that sits above ground level. It sounds simple because it is simple. Yet it solves almost every problem a new gardener faces: poor native soil, weeds, drainage issues, and back pain from bending too low.
In this guide, you will learn exactly how to build a raised garden bed from scratch, even if you have never picked up a power drill in your life. Grab a coffee ☕, and let’s get your hands dirty (in the best way possible).
🌼 Why Choose a Raised Garden Bed?
Before we grab our tools, let’s quickly talk about why raised beds are so popular among beginners.
- 🌾 Better soil control: You choose exactly what goes into your soil instead of fighting clay or sand in your yard.
- 💧 Improved drainage: Raised beds drain faster, which means healthier roots and less risk of rot.
- 🐛 Fewer weeds: Since you are starting with fresh soil, weed seeds are dramatically reduced.
- 🦴 Less strain on your back: No more kneeling for hours; the raised height makes planting and harvesting easier.
- 🐰 Pest control: It is easier to keep out crawling pests and add fencing or netting.
- 🎨 Neat appearance: A well built raised bed instantly makes your garden look organized and intentional.
Now that you know the “why,” let’s dive into the “how.”
🧰 Tools and Materials You Will Need
Here is a simple table you can screenshot or print out before your trip to the hardware store.
| Category | Item | Notes |
|---|---|---|
| 🪵 Wood | Untreated cedar or pine boards | Cedar lasts longer and resists rot naturally |
| 🔩 Fasteners | Exterior grade wood screws | 3 inch screws work well for most builds |
| 🔨 Tools | Drill and drill bits | A cordless drill makes this much easier |
| 📏 Measuring | Tape measure and pencil | Accuracy saves wood and frustration |
| ✂️ Cutting | Circular saw or handsaw | Ask your hardware store to cut boards if you don’t own a saw |
| 🧱 Corners | Corner brackets or wooden stakes | Adds extra strength to the frame |
| 🧤 Safety | Work gloves and safety glasses | Always protect your hands and eyes |
| 🟫 Lining | Landscape fabric | Prevents weeds from growing up into your bed |
| 🌍 Soil | Garden soil, compost, and topsoil mix | A 60/40 mix of topsoil and compost works great |
You do not need every fancy gadget on the market. Most beginners can complete this project with tools they already own or can borrow from a neighbor.
📐 Step 1: Choose the Right Location
Location is everything in gardening, so take your time here.
Look for a spot that gets at least six to eight hours of sunlight a day. Most vegetables and flowers are sun lovers, and a shady corner will leave you disappointed later.
Also think about:
- Access to a water source (a hose that reaches easily is a lifesaver)
- Flat, level ground to keep your bed stable
- Good drainage so water does not pool around the base
- Distance from large trees, since tree roots compete for nutrients
Tip: Walk around your yard at different times of the day and note where the sun hits the longest. That spot is usually your winner. ☀️
📏 Step 2: Decide on the Size and Shape
Beginners often make their first bed too wide, which makes it hard to reach the middle without stepping into the soil.
A good rule of thumb:
- Width: 3 to 4 feet (so you can reach the center from either side)
- Length: 6 to 8 feet is common, but this depends on your space
- Height: 10 to 12 inches is enough for most vegetables, though 18 inches is better for root crops like carrots
If you are gardening on a patio, deck, or an area with poor soil access, a taller bed of 18 to 24 inches also means less bending.
Quick Size Reference Table
| Garden Type | Recommended Width | Recommended Height |
|---|---|---|
| 🥬 Leafy greens and herbs | 3 feet | 10 to 12 inches |
| 🥕 Root vegetables | 3 feet | 14 to 18 inches |
| 🍅 Tomatoes and peppers | 4 feet | 12 to 15 inches |
| 🌸 Flowers | 3 to 4 feet | 10 to 12 inches |
🪚 Step 3: Gather and Cut Your Wood
Once you know your dimensions, it is time to prepare the lumber.
- Measure your boards according to your chosen length and width.
- Mark cutting lines clearly with a pencil.
- Use a circular saw or handsaw to cut the boards. If this feels intimidating, most hardware stores will cut lumber to size for free or for a small fee.
- Sand down any rough edges so splinters don’t ruin your gardening gloves later.
Beginner tip: Buy an extra board or two. Mistakes happen, and it is easier to have backup wood than to make another trip to the store. 🛒
🔨 Step 4: Assemble the Frame
This is where your raised bed starts to take shape, and honestly, it is the most satisfying part of the whole project.
- Lay your four side boards on a flat surface to form a rectangle.
- Place a corner bracket or wooden stake at each corner for extra support.
- Drill pilot holes first. This prevents the wood from splitting when you drive in screws.
- Screw the boards together at each corner, making sure everything stays square (use a tape measure to check that diagonals are equal).
- If your bed is longer than 6 feet, add a center support beam across the middle to prevent the sides from bowing outward once filled with soil.
Congratulations, you now have the skeleton of your very first raised garden bed! 🎉
🌍 Step 5: Prepare the Ground
Before placing your frame in its final spot, prepare the ground underneath.
- Remove any grass or weeds from the area.
- Level the soil with a rake so your bed sits evenly.
- Lay down landscape fabric or a few layers of cardboard. This blocks weeds and grass from growing up into your fresh soil.
- Place your wooden frame on top and make sure it sits flat and level.
If your yard is uneven, use a level tool and add or remove soil underneath the low corners until your frame sits steady.
🌾 Step 6: Fill With Quality Soil
This step determines how well your plants will grow, so do not rush it.
A great mix for most raised beds includes:
- 40 percent compost (adds nutrients)
- 40 percent topsoil (provides structure)
- 20 percent aeration material like perlite or coarse sand (improves drainage)
Fill your bed almost to the top, leaving about an inch of space below the rim. Soil will settle over the first few weeks, so do not worry if it looks slightly high at first.
Soil Mix Cheat Sheet
| Ingredient | Purpose | Approximate Ratio |
|---|---|---|
| 🍂 Compost | Nutrients and organic matter | 40 percent |
| 🌍 Topsoil | Structure and mineral content | 40 percent |
| 🪨 Perlite or sand | Drainage and aeration | 20 percent |
🌻 Step 7: Plant Your Garden
Now for the fun part. Once your soil is settled, it is time to plant.
Beginner friendly plants to start with include:
- 🍅 Cherry tomatoes
- 🥬 Lettuce and spinach
- 🌿 Basil and mint
- 🥕 Carrots
- 🌼 Marigolds (they also help repel pests)
Follow the spacing instructions on your seed packets or plant tags. Overcrowding is one of the most common beginner mistakes, so give your plants room to breathe.
💧 Step 8: Water and Maintain Your Bed
A raised bed dries out faster than ground soil, so keep an eye on moisture levels, especially during summer.
Simple maintenance checklist:
- Water early in the morning to reduce evaporation
- Add a layer of mulch to retain moisture and block weeds
- Check soil moisture with your finger; if the top inch feels dry, it is time to water
- Top up compost every season to keep nutrients fresh
- Rotate crops yearly to avoid depleting the same nutrients
🪵 Choosing the Best Wood for Your Raised Bed
Not all wood is created equal, and picking the right material will save you money and headaches down the road. Let’s compare the most common options beginners consider.
| Material | Lifespan | Cost | Best For |
|---|---|---|---|
| 🌲 Cedar | 10 to 15 years | Higher upfront cost | Long term gardeners who want low maintenance |
| 🌳 Pine (untreated) | 5 to 7 years | Budget friendly | First time builders testing the waters |
| 🧱 Composite boards | 20 plus years | Expensive but durable | Gardeners who want a permanent structure |
| 🪨 Concrete blocks | 20 plus years | Moderate cost | Beginners who want a no tools option |
| 🥫 Galvanized metal | 15 to 20 years | Moderate to high | Modern looking gardens with a sleek finish |
Avoid pressure treated wood that was manufactured before 2003, since older treatments contained chemicals that could leach into your soil. Modern pressure treated wood is generally considered safe, but many organic gardeners still prefer to stick with naturally rot resistant options like cedar.
💰 How Much Does It Cost to Build a Raised Garden Bed?
One of the biggest questions beginners ask is about budget. The good news is that raised beds can fit almost any price range depending on the materials you choose.
| Bed Size | Estimated Material Cost | Estimated Soil Cost | Total Estimate |
|---|---|---|---|
| Small (3×3 feet) | 30 to 50 dollars | 20 to 40 dollars | 50 to 90 dollars |
| Medium (4×6 feet) | 60 to 100 dollars | 50 to 80 dollars | 110 to 180 dollars |
| Large (4×8 feet) | 90 to 150 dollars | 80 to 120 dollars | 170 to 270 dollars |
Keep in mind that soil is often the more expensive part of the project, especially if you are filling a taller bed. Buying compost and topsoil in bulk from a local supplier is usually cheaper than buying small bags from a garden center.
⚠️ Common Mistakes Beginners Make
Learning from other people’s mistakes is much cheaper than learning from your own. Here are a few pitfalls to avoid.
- 🚫 Building the bed too wide, which makes weeding and harvesting from the middle nearly impossible
- 🚫 Skipping pilot holes, which causes the wood to split when screws are driven in
- 🚫 Using cheap garden soil without adding compost, leading to poor plant growth
- 🚫 Placing the bed in a shady spot because it looked convenient rather than checking sunlight first
- 🚫 Forgetting to add a center support beam on longer beds, which causes the sides to bow outward
- 🚫 Overcrowding plants, which increases competition for nutrients and reduces yield
- 🚫 Ignoring drainage, which can drown roots during heavy rain
🍂 Seasonal Tips for Raised Bed Success
Raised beds behave a little differently across the seasons compared to traditional in ground gardens, mostly because they warm up and cool down faster.
Spring: Soil in raised beds warms up earlier than ground soil, so you can often plant a few weeks ahead of your neighbors with traditional gardens. Take advantage of this early start for cool season crops like lettuce and peas.
Summer: Because raised beds drain quickly, they can dry out fast in the heat. Mulching heavily and watering consistently becomes especially important during hot months.
Fall: Use this season to add compost back into the bed and plant cool weather vegetables like kale, broccoli, and spinach.
Winter: In colder climates, consider covering your bed with mulch or a cold frame to protect the soil structure. In warmer climates, you may be able to garden year round.
🐝 Adding Pollinator Friendly Touches
If you want to boost the health of your raised bed garden, consider tucking in a few pollinator friendly flowers along the edges. Marigolds, nasturtiums, and lavender not only look beautiful but also attract bees and butterflies, which improves pollination for your vegetables. This small addition can noticeably increase your harvest, especially for fruiting plants like tomatoes, cucumbers, and squash.
🔁 Companion Planting Basics for Raised Beds
Companion planting means placing certain plants near each other because they help one another grow better or repel unwanted pests.
| Plant | Good Companion | Why It Works |
|---|---|---|
| 🍅 Tomatoes | Basil | Basil is said to improve tomato flavor and repel certain insects |
| 🥕 Carrots | Onions | Onions help mask the scent that attracts carrot flies |
| 🥒 Cucumbers | Marigolds | Marigolds repel beetles and other common pests |
| 🌽 Corn | Beans and squash | Known as the Three Sisters method, each plant supports the others |
Experimenting with companion planting is a great way to level up your raised bed once you feel comfortable with the basics.
❓ Frequently Asked Questions
| Question | Answer |
|---|---|
| How long does a raised garden bed last? | A cedar bed can last 10 to 15 years, while pine typically lasts 5 to 7 years |
| Do I need to line the bottom of the bed? | Lining with landscape fabric helps block weeds but is not always required |
| Can I build a raised bed without any tools? | Some kits require no tools at all, using interlocking panels instead |
| What is the cheapest material for a raised bed? | Untreated pine is usually the most budget friendly option |
| How deep should soil be for vegetables? | Most vegetables thrive with 10 to 12 inches of soil depth |
🌟 Final Thoughts
Building a raised garden bed is one of the most rewarding beginner projects you can take on. It combines a little bit of carpentry, a little bit of planning, and a whole lot of joy once you see your first sprouts pushing through the soil.
Remember, gardening is not about perfection. Your first bed does not need to look like something out of a magazine. It needs to hold soil, drain well, and give your plants room to grow. Every experienced gardener started exactly where you are now, standing in their yard with a pile of wood and a lot of enthusiasm.
So grab your tools, pick a sunny spot, and start building. Your future harvest of fresh tomatoes, crisp lettuce, and fragrant herbs is waiting for you. 🌻🍅🥬
Happy gardening! 🌱