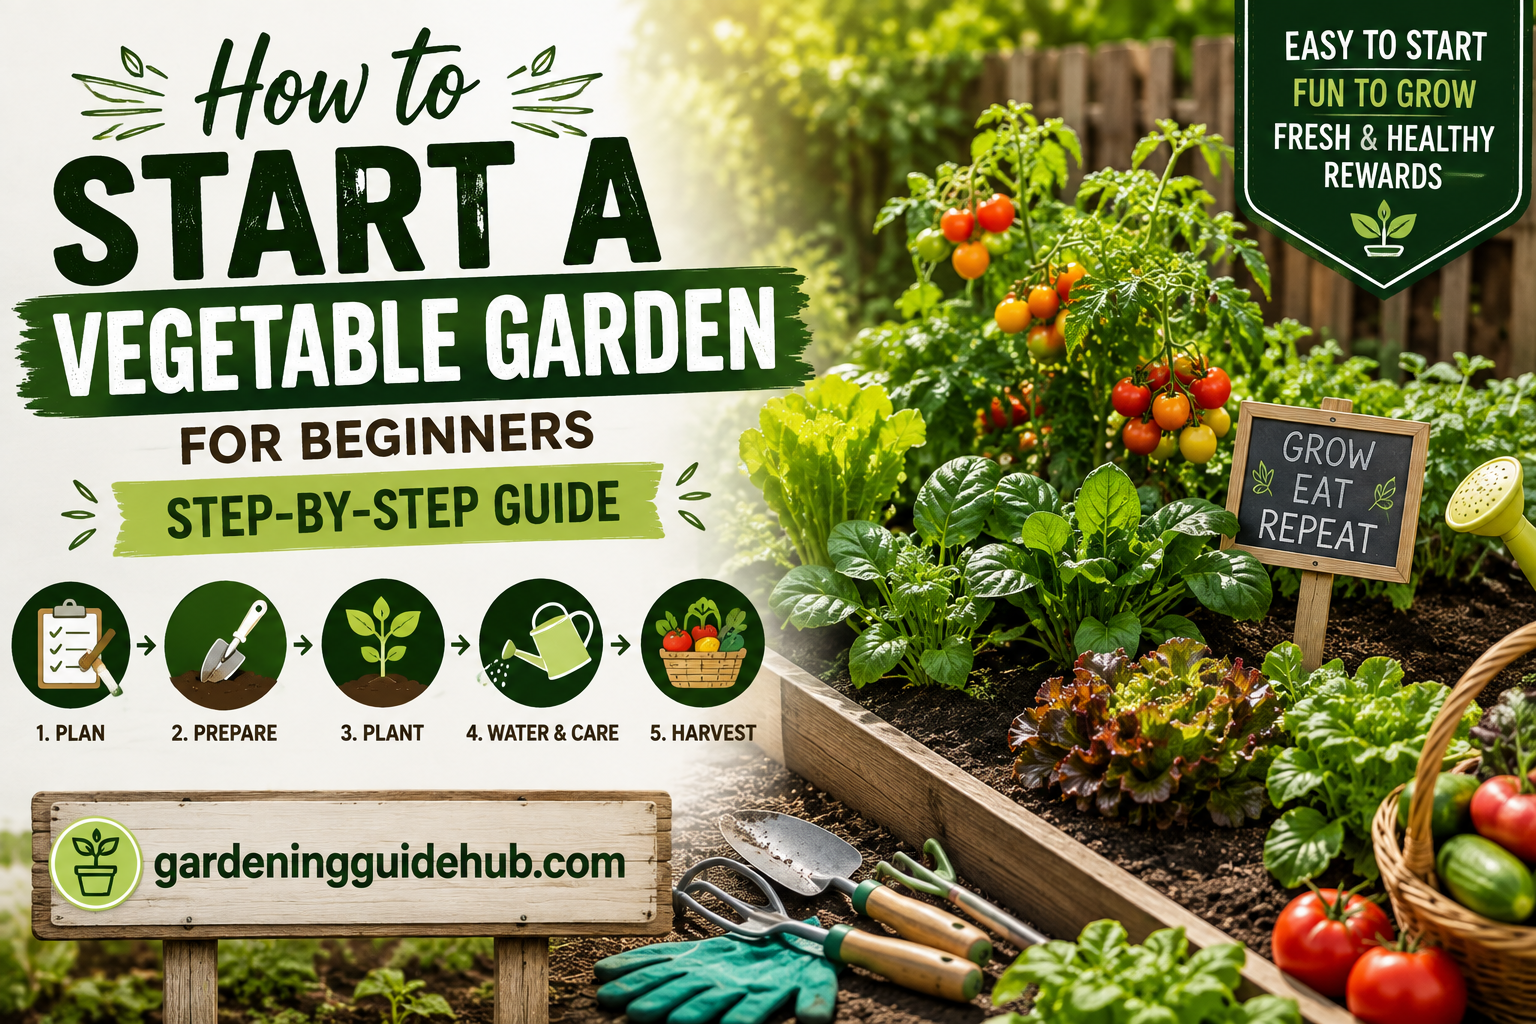
There’s something almost magical about eating a tomato you grew yourself, or pulling a carrot out of the ground and rinsing off the dirt right there in your backyard. If you’ve been thinking about starting a vegetable garden but have no idea where to begin, you’re in exactly the right place. Growing your own food isn’t complicated, expensive, or reserved for people with a “green thumb.” It’s a skill, and like any skill, it just takes a clear starting point and a bit of patience.
This guide walks you through every step, from picking a spot to harvesting your first crop, in plain language with no unnecessary jargon. Let’s get your hands dirty. 🧤🌻
Step 1: Decide Why You’re Gardening 🎯
This might sound like an odd first step, but it actually shapes everything else. Are you gardening to save money on groceries? To eat healthier? For the relaxation of it? To teach your kids where food comes from? Your “why” will guide how big your garden should be and which vegetables are worth your time.
If your goal is saving money, focus on vegetables that are expensive to buy but cheap and easy to grow, like herbs, lettuce, and tomatoes. If it’s about relaxation, don’t overplant, a smaller garden you can tend calmly beats a huge one that becomes a chore.
Step 2: Choose the Right Spot ☀️
Location is the single biggest factor in how well your garden performs, even more than soil or seed quality.
Sunlight. Most vegetables need at least 6 hours of direct sun daily. Watch your yard or balcony for a full day and note where the sun actually hits, not where you assume it does.
Water access. Pick a spot near a hose or water source. Hauling buckets of water across the yard every day gets old fast.
Drainage. Avoid low spots where water pools after rain. Soggy soil suffocates roots and invites disease.
Convenience. A garden tucked in a far corner of the yard often gets neglected. Somewhere you walk past daily, like near the back door, keeps it top of mind.
Step 3: Decide Between Containers, Raised Beds, or In Ground 🪴
Each option works, and beginners often mix all three depending on space.
| Method 🌿 | Best For | Pros | Cons |
|---|---|---|---|
| Containers | Patios, balconies, renters | Movable, good drainage, low cost to start | Dries out faster, limited root space |
| Raised beds | Backyards with poor native soil | Better soil control, easier on the back | Higher upfront cost |
| In ground beds | Yards with decent soil already | Cheapest long term, unlimited root space | Requires soil testing and amending |
If you’re not sure which to choose, a few containers on a sunny patio or a single small raised bed (about 4 by 4 feet) is a smart, low pressure way to start.
Step 4: Test and Improve Your Soil 🧪
Good soil is the foundation of a good garden, full stop. If you’re planting in the ground, grab a handful of soil and squeeze it. If it crumbles apart easily, that’s a good sign. If it forms a solid clump or falls apart into dust, it likely needs amending.
For clay heavy soil, mix in compost and coarse sand to improve drainage. For sandy soil, add compost and organic matter to help it hold moisture and nutrients. For containers or raised beds, skip the guesswork and use a quality bagged potting mix or raised bed soil blended with compost.
A simple home soil test kit (inexpensive and available at most garden centers) can also tell you your soil’s pH, which matters since most vegetables prefer a slightly acidic to neutral range, roughly 6.0 to 7.0.
Step 5: Plan What to Plant 📋
This is the fun part, but it’s easy to get overexcited and plant more than you can realistically manage. Start smaller than you think you need to.
Here’s a beginner friendly table of vegetables that are forgiving, fast growing, and satisfying for a first garden.
| Vegetable 🥬 | Difficulty | Days to Harvest | Beginner Tip |
|---|---|---|---|
| Lettuce | Easy | 30 to 50 days | Harvest outer leaves and it keeps producing |
| Radishes | Easy | 20 to 30 days | Great for quick, confidence building results |
| Green beans | Easy | 50 to 60 days | Very high yield, minimal care needed |
| Zucchini | Easy | 45 to 55 days | One plant produces a surprising amount |
| Tomatoes | Moderate | 60 to 85 days | Needs staking and steady watering |
| Peppers | Moderate | 60 to 90 days | Slow to start but low maintenance once growing |
| Herbs (basil, mint, parsley) | Easy | 25 to 60 days | Great in containers near the kitchen |
| Carrots | Moderate | 60 to 80 days | Needs loose, rock free soil to grow straight |
| Cucumbers | Moderate | 50 to 70 days | Benefits from a trellis to save space |
| Peas | Easy | 55 to 70 days | Great early season crop, tolerates cool weather |
A solid beginner combo is lettuce, radishes, green beans, one tomato plant, and a couple of herbs. That gives you fast wins, a summer favorite, and daily kitchen use without overwhelming you.
Step 6: Know Your Growing Season 📅
Every region has a different frost schedule, and this matters more than almost anything else. Vegetables generally fall into two categories.
Cool season crops (lettuce, peas, radishes, spinach, kale) grow best in spring or fall when temperatures are mild, and they can even tolerate a light frost.
Warm season crops (tomatoes, peppers, zucchini, cucumbers, beans) need warm soil and no risk of frost, so they’re typically planted after your area’s last spring frost date.
Search “average last frost date” along with your city or region to find a reliable planting window. Most seed packets also list ideal planting times relative to that date.
Step 7: Start From Seeds or Buy Seedlings 🌾
Both routes work, and many beginners use a mix.
Seeds are cheaper, offer more variety, and let you start crops like lettuce, beans, radishes, and carrots directly in the ground.
Seedlings (small starter plants from a nursery) save time and are especially helpful for slow growing crops like tomatoes and peppers, which can take weeks to germinate and grow large enough to transplant.
If you want to start seeds indoors before your last frost date, a sunny windowsill or a simple grow light setup works well for getting a head start on warm season crops.
Step 8: Plant Properly 🌿
Once you’ve got your seeds or seedlings and your soil is ready, planting itself is simple, but a few details make a big difference.
Follow spacing guidelines. It’s tempting to cram plants close together, but overcrowding leads to competition for light, water, and nutrients, which lowers your overall harvest.
Plant at the right depth. As a general rule, plant seeds about twice as deep as their size. Seed packets always list exact depth and spacing.
Water immediately after planting. This helps settle the soil around seeds or roots and removes air pockets that can dry out young plants.
Label your rows or containers. It’s easy to forget what’s what once seedlings all look like tiny green sprouts.
Step 9: Water, Feed, and Maintain 💧🌾
Watering. Most vegetables need about 1 inch of water per week, whether from rain or hand watering. Water deeply and less often rather than a light sprinkle daily, which encourages shallow, weak roots.
Mulching. A layer of mulch (straw, shredded leaves, or bark) keeps soil moist, blocks weeds, and regulates soil temperature.
Feeding. Most potting soil and compost provide nutrients for the first 6 to 8 weeks. After that, a balanced organic fertilizer every few weeks keeps plants productive.
Weeding. Pull weeds early and often, before they get established and start competing with your vegetables for water and nutrients.
Pest watching. Check plants every few days for signs of pests or disease, like holes in leaves, yellowing, or wilting. Catching issues early makes them far easier to manage.
Step 10: Harvest at the Right Time 🧺
This is the payoff for all your effort, and timing matters more than people expect.
- Leafy greens like lettuce and kale are best harvested young and often, taking outer leaves so the plant keeps producing.
- Root vegetables like radishes and carrots are ready when the top of the root is visibly plump at the soil surface.
- Tomatoes and peppers should be picked once fully colored, though slightly underripe tomatoes can also ripen indoors on a windowsill.
- Beans and peas are best picked young and tender, before the pods become tough or overly full.
Harvesting regularly actually encourages many plants, especially beans, zucchini, and leafy greens, to keep producing more.
Common Beginner Mistakes to Avoid 🚫
- Starting too big. A huge garden sounds exciting but often becomes overwhelming and neglected by midsummer.
- Ignoring sunlight requirements. Even great soil can’t make up for a shady spot if your vegetables need full sun.
- Overwatering or underwatering. Both stress plants. Check soil moisture with a finger test before watering.
- Planting too early or too late. Frost dates matter, planting warm season crops too soon can kill them overnight.
- Skipping soil prep. Poor soil is one of the most common reasons beginner gardens underperform.
- Not thinning seedlings. If multiple seeds sprout close together, thin them out so remaining plants have room to grow properly.
A Simple First Season Timeline 🗓️
| Timeframe | Task |
|---|---|
| 6 to 8 weeks before last frost | Start warm season seeds indoors (tomatoes, peppers) |
| After last frost risk passes | Transplant warm season crops outdoors, direct sow beans and cucumbers |
| Early spring or early fall | Direct sow cool season crops (lettuce, peas, radishes, spinach) |
| Throughout the season | Water consistently, mulch, weed, and monitor for pests |
| As crops mature | Harvest regularly to encourage continued production |
| End of season | Take notes on what worked, clean up beds, add compost for next year |
Frequently Asked Questions ❓
How much space do I need to start a vegetable garden? You can start with as little as a few containers on a sunny patio. Even a 4 by 4 foot raised bed can grow a meaningful amount of food for a household.
What’s the easiest vegetable for a total beginner? Radishes and lettuce are two of the most forgiving choices, both grow quickly, tolerate minor mistakes, and give fast, encouraging results.
Do I need expensive tools to start? No. A hand trowel, gloves, and a watering can or hose are enough for a first season. You can add more tools later as needed.
How long until I see results? Fast crops like radishes and lettuce can be ready in as little as 20 to 30 days, while tomatoes and peppers take a couple of months from transplant to harvest.
What if I make mistakes my first season? Every gardener does, and that’s genuinely part of the learning process. Take notes on what struggled and what thrived, and use that knowledge to make next season even better.
Final Thoughts 🌻
Starting a vegetable garden isn’t about getting everything perfect on the first try, it’s about learning as you go and enjoying the process along the way. Pick a sunny spot, start with a few forgiving vegetables, keep the soil healthy, and stay consistent with watering and care. Before long, you’ll be walking outside to pick fresh ingredients for dinner, and that first homegrown harvest has a way of turning a beginner into a lifelong gardener. 🥗🍅✨