
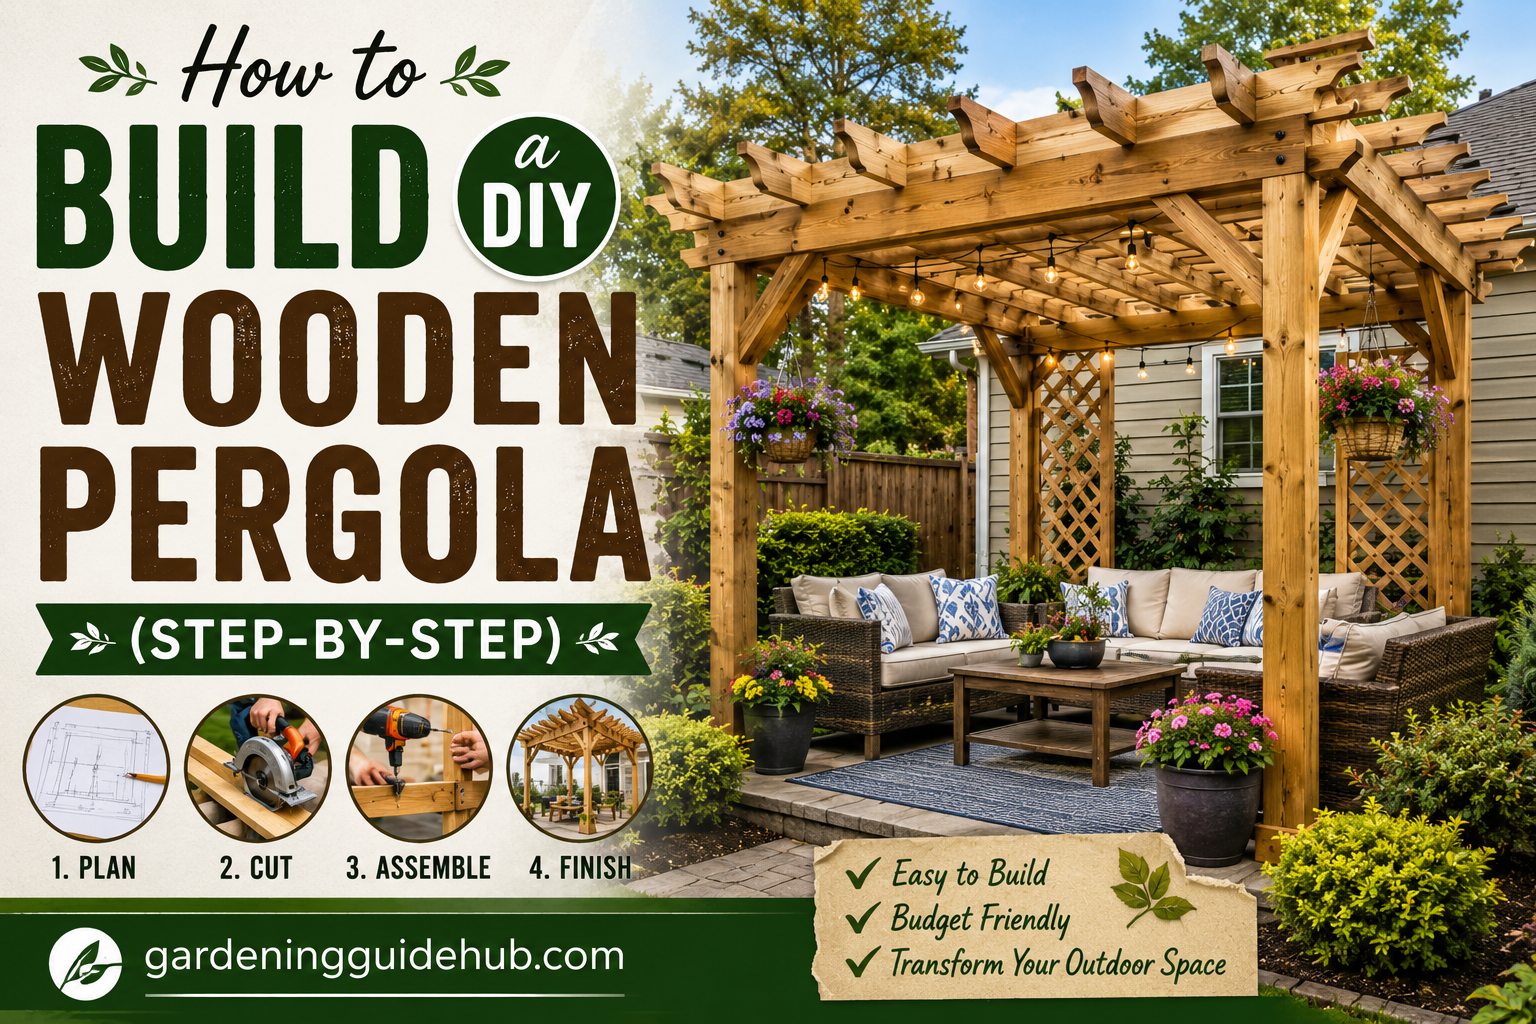
Building your own wooden pergola is one of the most rewarding weekend projects you can take on as a homeowner. Not only does it save you a serious chunk of money compared to hiring a contractor, but there’s something incredibly satisfying about relaxing under a structure you built with your own two hands.
In this guide, we’ll walk through the entire process from planning to the final coat of stain. Whether you’re a seasoned DIYer or picking up a power drill for the first time, this step by step tutorial will help you build a sturdy, beautiful wooden pergola for your backyard. Let’s dig in! 🛠️
Why Build Your Own Pergola? 🤔
Before we get into the how, let’s quickly cover the why.
- 💵 Save thousands compared to professional installation
- 🎨 Customize the size, style, and finish exactly how you want
- 🧠 Learn valuable carpentry and building skills
- 🏡 Add real value and charm to your outdoor space
- 😊 Enjoy the pride of a true hands on home improvement project
Now let’s get into the actual build.
Step 1: Plan Your Pergola Design and Size 📐
Every great build starts with a solid plan. Grab a notepad or a design app and sketch out your ideal pergola, including dimensions, post placement, and roof style.
Popular sizes for backyard pergolas range from 10×10 feet for a cozy corner to 12×16 feet for a full outdoor living area. Consider what you’ll use the space for, whether it’s dining, lounging, or hosting a hot tub, since this will influence your final measurements.
Things to decide during planning:
- 📏 Overall length and width
- 📐 Post height (typically 8 to 10 feet)
- 🧱 Roof style (open slats, lattice, or louvered)
- 🌤️ Orientation based on sun exposure
- 🏗️ Whether it will be freestanding or attached to your home
Step 2: Check Local Building Codes and Permits 📋
This step is easy to skip but incredibly important. Many cities and municipalities require permits for structures over a certain size or height, and some have setback rules about how close a pergola can be to your property line.
Call your local building department or check their website before you buy a single board. It’s much easier to adjust your plan now than to tear down a finished structure later.
Step 3: Gather Your Materials and Tools 🧰
Here’s a general materials list for a standard 10×12 foot wooden pergola. Adjust quantities based on your specific design and size.
| Material | Purpose | Notes |
|---|---|---|
| 6×6 posts 🪵 | Vertical support | Pressure treated lumber recommended |
| 2×8 or 2×10 beams | Main horizontal support | Cedar or redwood for durability |
| 2×6 rafters | Roof structure | Spaced evenly across beams |
| 2×2 or 2×4 slats | Top shade layer | Spacing affects shade level |
| Concrete mix 🧱 | Setting posts | Quick setting works well for DIY |
| Post anchors ⚙️ | Attach posts to footings | Prevents wood rot from ground contact |
| Exterior screws and bolts 🔩 | Structural connections | Use galvanized or stainless steel |
| Wood stain or sealant 🎨 | Weatherproofing | Apply after full assembly |
Tools you’ll need:
- 🔨 Circular saw or miter saw
- 🪛 Power drill and driver bits
- 📏 Tape measure and level
- 🕳️ Post hole digger or auger
- 🧵 String line and stakes
- 🪜 Ladder
- 🧤 Safety gloves and glasses
Step 4: Mark and Dig the Post Holes 🕳️
Using your plan, mark the exact locations of each post with stakes and string lines. Double check that everything is square by measuring diagonals, both should be equal if your layout is a perfect rectangle.
Dig holes about two to three feet deep, or according to your local frost line depth, and roughly 10 to 12 inches wide. This ensures your posts have a stable, long lasting foundation.
Step 5: Set the Posts in Concrete 🧱
Place your posts into the holes and use temporary braces to hold them perfectly vertical. Check each post with a level on two adjacent sides to make sure it’s plumb in every direction.
Pour concrete into the holes around the posts, following the mix instructions for setting time. Let the concrete cure fully, usually 24 to 48 hours, before moving on to the next step.
Pro tip: Use post anchors that sit above ground level rather than burying the wood directly in concrete. This helps prevent moisture damage and extends the life of your posts significantly.
Step 6: Attach the Beams 🪵
Once your posts are set and cured, it’s time to attach the horizontal beams that will run across the top of the posts. These beams carry the weight of the roof structure, so secure connections are critical.
Use galvanized bolts or heavy duty brackets rather than just screws for this step, since beams need to handle real structural load, especially in areas with heavy wind or snow.
Step 7: Install the Rafters 🏗️
Next, add the rafters that run perpendicular to the beams. Space them evenly, typically 16 to 24 inches apart, depending on your desired look and the amount of shade you want.
Cut decorative ends on the rafters if you like a more finished, classic pergola aesthetic. Simple angled or curved cuts on the rafter tails add a nice touch without much extra effort.
Step 8: Add the Top Slats 🌤️
The top slats are what give a pergola its signature look and control how much sunlight filters through. Attach them across the rafters, spacing them based on how much shade you want.
Slat spacing guide:
| Spacing | Shade Level | Best For |
|---|---|---|
| 2 inches | Heavy shade | Hot, sunny climates |
| 4 inches | Moderate shade | Balanced sun and shade |
| 6 inches | Light shade | Cooler climates, more sunlight desired |
Step 9: Sand and Finish the Wood 🪚
Once the structure is fully assembled, give every surface a good sanding to smooth out rough edges and splinters. This step makes a big difference in both appearance and comfort, especially if you’ll be leaning against the posts often.
Apply a wood stain, sealant, or exterior paint to protect against sun, rain, and general wear. Most stains need reapplication every one to two years, so choose a finish that matches your maintenance preferences.
Step 10: Add the Finishing Touches ✨
With the structural work done, now comes the fun part, decorating and personalizing your new pergola.
- 💡 String lights or hanging lanterns for evening ambiance
- 🌿 Climbing plants like jasmine or wisteria for natural greenery
- 🪑 Outdoor furniture such as a dining set or lounge chairs
- 🧵 Curtains for added privacy and softness
- 🔥 A nearby fire pit or heater for cooler evenings
Common Mistakes to Avoid ⚠️
Building your own pergola is very doable, but a few common errors can cause headaches down the road:
- 🚫 Skipping the permit check and having to redo work later
- 🚫 Not setting posts deep enough for your climate’s frost line
- 🚫 Using standard screws instead of structural grade hardware
- 🚫 Forgetting to seal the wood, leading to faster rot and warping
- 🚫 Miscalculating measurements and ending up with an uneven structure
Taking your time during the planning and post setting stages will save you far more time than it costs.
How Long Does It Take to Build a Pergola? ⏱️
For most DIYers working on weekends, a standard sized wooden pergola takes about two to four weekends to complete, depending on experience level and weather conditions. Concrete curing time and staining also add a bit of waiting time between active building days.
If you’re working with a helper, tasks like lifting beams and holding posts level become much easier and faster.
DIY Cost Breakdown 💰
Costs vary widely based on wood type and size, but here’s a general estimate for a 10×12 foot pergola:
| Item | Estimated Cost |
|---|---|
| Pressure treated posts and beams | $300 to $500 |
| Cedar or redwood upgrade | $600 to $900 |
| Concrete and post anchors | $50 to $100 |
| Hardware (screws, bolts, brackets) | $50 to $150 |
| Stain or sealant | $40 to $80 |
| Total estimated range | $450 to $1,700 |
Compare that to professional installation, which often runs $2,000 to $8,000 or more depending on materials and labor, and it’s easy to see why so many homeowners choose the DIY route.
Final Thoughts 🌼
Building your own wooden pergola is a project that combines practical skill building with genuinely beautiful, lasting results. With careful planning, the right materials, and a bit of patience through the process, you’ll end up with a backyard feature that adds charm, function, and value to your home for years to come.
Take it one step at a time, don’t rush the concrete curing or the measuring stages, and soon enough you’ll be relaxing under your very own handmade pergola with a cold drink in hand. Happy building! 🌞🔨
Frequently Asked Questions ❓
What is the best wood for a DIY pergola? Cedar and redwood are top choices thanks to their natural resistance to rot and insects, though pressure treated pine is a more budget friendly and widely available option.
Do I need a permit to build a pergola? It depends on your local regulations and the size of your structure. Always check with your city or county building department before starting construction.
How deep should pergola post holes be? Most posts should be set two to three feet deep, though this can vary based on your region’s frost line and soil conditions.
Can one person build a pergola alone? It’s possible, especially for smaller designs, but having a helper makes lifting beams and keeping posts level significantly easier and safer.
How often should I reseal a wooden pergola? Most sealants and stains need reapplication every one to two years to keep the wood protected from sun and moisture damage.