
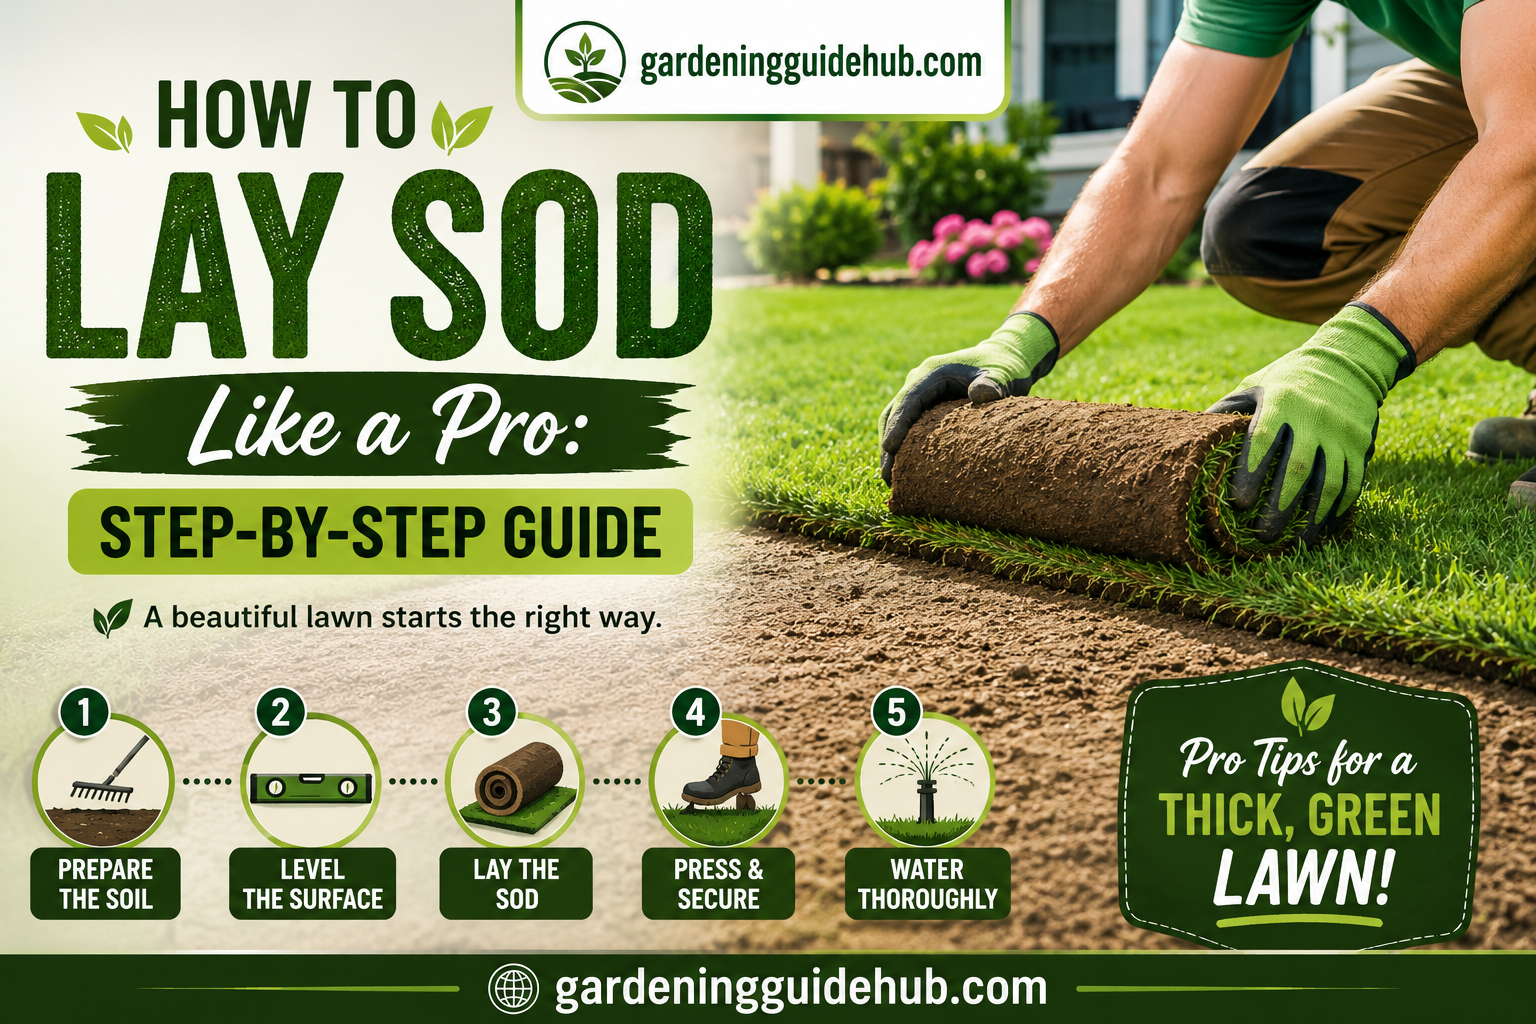
Dreaming of a thick, green, carpet like lawn without waiting months for grass seed to grow in? Sod is your shortcut. Instead of scattering seed and praying for rain, you’re rolling out mature, established grass that can transform a dusty, patchy yard into a lush green space in a single weekend.
But here’s the thing: laying sod looks simple on YouTube, yet a huge number of DIY sod jobs fail within the first few weeks because of rushed prep work, poor watering habits, or bad timing. The good news? Sod isn’t hard to install correctly. It just requires patience, the right tools, and a bit of know how.
In this guide, we’ll walk through everything a professional landscaper would do, broken into clear, actionable steps. Grab your gloves, and let’s get your lawn looking magazine worthy. 🏡
🌾 What Is Sod, and Why Choose It Over Seed?
Sod is simply mature grass grown on farms, cut into strips along with a thin layer of soil and roots, then rolled up and delivered fresh for installation. Think of it like grass on a rug you unroll onto your yard.
Here’s a quick comparison to help you decide if sod is right for your project:
| Factor 🔍 | Sod 🌿 | Grass Seed 🌱 |
|---|---|---|
| Time to usable lawn | 2 to 3 weeks | 6 to 12 months |
| Cost | Higher upfront | Lower upfront |
| Erosion control | Immediate | Weak until established |
| Weed competition | Minimal | High risk |
| Best season to install | Spring or Fall | Spring or Fall |
| Labor intensity | Moderate to high | Low to moderate |
If you need a lawn fast, want to stop soil erosion on a slope, or you’re simply tired of staring at dirt, sod usually wins.
🧰 Tools and Materials You’ll Need
Before you order a single roll of sod, gather your supplies. Running back and forth to the hardware store while your sod dries out in the sun is not a fun way to spend your Saturday.
| Tool or Material 🛠️ | Purpose |
|---|---|
| Sod cutter or spade | Removing old grass and weeds |
| Rototiller | Loosening and aerating soil |
| Rake and garden hoe | Leveling and smoothing the ground |
| Soil test kit | Checking pH and nutrient levels |
| Topsoil or compost | Improving poor soil quality |
| Starter fertilizer | Feeding new roots |
| Lawn roller | Pressing sod into contact with soil |
| Sharp utility knife | Trimming sod pieces to fit |
| Garden hose or sprinkler | Watering newly laid sod |
| Wheelbarrow | Moving soil amendments and sod rolls |
📅 Timing Matters: When to Lay Sod
Sod can technically be installed any time the ground isn’t frozen, but timing makes a massive difference in how well it takes root.
🍂 Early fall is often considered the best window in most regions. The soil is still warm, which helps roots establish quickly, while cooler air temperatures reduce heat stress on the fresh grass.
🌸 Spring is the second best choice, giving roots a full growing season to settle in before winter arrives.
☀️ Avoid peak summer heat if possible. New sod dries out fast in high temperatures, and you’ll be watering constantly just to keep it alive.
❄️ Skip winter installation entirely in cold climates. Dormant sod won’t root properly until the ground warms up again.
🧪 Step 1: Test and Prepare Your Soil
Great sod starts with great soil, not great grass. Skipping this step is the number one reason DIY sod jobs turn brown and patchy within weeks.
- Test your soil pH using a home kit or by sending a sample to your local extension office. Most lawn grasses thrive in a pH range of about 6.0 to 7.0.
- Remove existing grass, weeds, and debris completely using a sod cutter or a flat spade. Every bit of old growth left behind can compete with your new sod’s roots.
- Till the soil to a depth of around 4 to 6 inches. This breaks up compaction and lets roots spread easily.
- Add amendments based on your soil test. Sandy soil often benefits from compost to help retain moisture, while heavy clay soil needs organic matter to improve drainage.
- Grade the yard so water flows away from your home’s foundation, with a gentle slope of about 1 inch of drop for every 4 feet.
🪨 Step 2: Level and Smooth the Ground
Once your soil is amended, it’s time to rake everything into a smooth, even surface. Bumps and dips will show right through the sod later, so this step deserves real attention.
Use a garden rake to break up clumps and pull the soil into a fine, crumbly texture. Walk across the area in heavy boots or use a lawn roller filled partway with water to press down high spots and reveal low areas that still need filling.
Finish by lightly watering the prepared soil the day before your sod arrives. Moist (not soaked) soil helps the new roots make contact and start growing immediately.
🚛 Step 3: Order Fresh Sod and Plan Your Delivery
Sod is a perishable product. Once it’s cut and rolled at the farm, the clock starts ticking, and it can begin to yellow or rot if it sits too long, especially in warm weather.
Order your sod to arrive the same day you plan to install it, or at the very latest, the day before. Measure your yard carefully beforehand, including odd shapes and curves, and add roughly 5 percent extra to account for trimming and waste.
If your sod does arrive early, unroll the pallets in a shaded area and keep the rolls lightly watered until you’re ready to lay them.
🌿 Step 4: Lay the Sod Like a Professional
This is the fun part. Here’s how the pros do it.
Start Along a Straight Edge
Begin along the longest straight line in your yard, such as a driveway, sidewalk, or patio edge. This gives you a clean reference line to keep every following row aligned.
Lay in a Brick Pattern
Just like laying bricks, stagger the seams of each row so they don’t line up with the row before it. This creates a stronger, more natural looking lawn and prevents long straight seams that are prone to drying out.
Push Pieces Tightly Together
Fit each sod piece snugly against its neighbor without overlapping or leaving gaps. Gaps allow moisture to escape and give weeds an easy opening to take hold.
Trim to Fit Curves and Edges
Use a sharp utility knife to trim sod around flower beds, trees, and curved borders. Cutting from the underside of the sod often gives a cleaner edge than cutting through the grass blades.
Stagger on Slopes
On hills or slopes, lay sod horizontally across the slope rather than up and down. For steeper areas, wooden stakes can help hold pieces in place until roots establish.
Roll It In
Once an area is laid, go over it with a lawn roller. This pushes out air pockets and presses the roots into firm contact with the soil beneath, which is essential for quick establishment.
💧 Step 5: Water Immediately and Consistently
Watering is where most sod installations succeed or fail. New sod has a shallow root system and dries out far faster than an established lawn.
| Time Since Installation ⏱️ | Watering Frequency 💦 | Goal |
|---|---|---|
| Day 1 | Water within 30 minutes of laying | Soak soil beneath sod thoroughly |
| Days 1 to 7 | 2 to 3 times daily, light watering | Keep sod consistently moist |
| Days 7 to 14 | Once daily | Encourage deeper root growth |
| Days 14 to 21 | Every 2 to 3 days | Transition toward normal schedule |
| After 3 weeks | 1 to 2 times weekly | Maintain established lawn |
A simple trick professionals use: lift a corner of the sod after about two weeks. If you see white roots gripping into the soil below, your lawn is rooting successfully.
✂️ Step 6: First Mow and Early Care
Wait until the sod has rooted firmly before mowing, usually around 2 to 3 weeks after installation. You’ll know it’s ready when the grass no longer lifts easily when tugged.
For the first mow, set your mower blade high and only trim about one third of the grass height. Cutting too short too soon can stress the roots before they’re fully established.
Avoid heavy foot traffic, pets, and lawn furniture on new sod for at least the first two to three weeks. Fresh sod is fragile, and repeated pressure can create dips or damage the developing root system.
🚫 Common Sod Laying Mistakes to Avoid
Even careful homeowners run into trouble. Here are the mistakes that trip people up most often.
😬 Skipping soil preparation and laying sod directly over compacted or weedy ground.
😬 Letting sod sit rolled up for more than a day or two before installing it.
😬 Leaving visible gaps between pieces instead of fitting them snugly together.
😬 Watering too little in the first week, which is the most critical rooting period.
😬 Mowing too early or cutting the grass too short right after installation.
😬 Ignoring the slope of the yard, which can lead to pooling water and root rot near your foundation.
🌤️ Ongoing Lawn Care After Sod Establishes
Once your sod has rooted (typically after 3 to 4 weeks), shift into a normal lawn care routine to keep it thriving for years to come.
Fertilize according to your grass type and regional climate, usually every 6 to 8 weeks during the growing season. Water deeply but less frequently to encourage roots to grow downward rather than staying shallow near the surface. Aerate compacted soil once a year, and overseed thin spots in early fall to keep your lawn dense and resistant to weeds.
❓ Frequently Asked Questions
How long does it take for sod to root? Most sod begins rooting within 10 to 14 days, though full establishment can take 3 to 4 weeks depending on grass type, soil quality, and weather conditions.
Can I lay sod over existing grass? It’s not recommended. Old grass and thatch prevent proper soil contact, which stops new roots from establishing correctly. Always remove the old lawn first.
How much does sod cost compared to seed? Sod typically costs more upfront per square foot than seed, but it saves time, reduces erosion risk, and gives you a usable lawn almost immediately.
What if it rains right after I lay sod? Light rain is actually beneficial, helping settle the sod into the soil. Just make sure water isn’t pooling or washing pieces out of place.
Do I need starter fertilizer? Yes, a phosphorus rich starter fertilizer applied before laying sod helps roots establish faster and gives your new lawn a strong start.
🌟 Final Thoughts
Laying sod is one of the most satisfying weekend projects a homeowner can tackle. Within a matter of hours, you can go from bare dirt to a lawn that looks like it’s been growing for years. The secret isn’t complicated tools or rare expertise, it’s simply proper soil preparation, careful installation, and consistent watering in those crucial first few weeks.
Take your time with the prep work, order your sod fresh, lay it with staggered seams and tight joints, and keep it well watered while the roots take hold. Follow these steps, and you’ll have a lawn that neighbors stop to admire, and one that a professional landscaper would be proud to call their own. 🏆🌿